Découpage collage is an artistic technique involving cutting and arranging images from printable PDFs onto surfaces, creating vibrant designs. Rooted in historical crafts, it offers a modern, versatile way to express creativity, ideal for both beginners and experienced artists.
1.1 Definition and Overview
Découpage collage à imprimer PDF is a creative technique where images from printable PDF files are cut and layered to form artistic designs. Originating from the French word “découper,” meaning “to cut out,” this method allows artists to transform digital prints into unique, textured compositions. By combining multiple images, individuals can craft intricate patterns, themes, or narratives. The use of PDFs ensures high-quality visuals, making the process versatile for both personal projects and professional art. This approach bridges traditional collage methods with modern digital tools, offering endless possibilities for customization. Whether for crafting, interior design, or fine art, décollage collage provides an accessible way to explore creativity and bring ideas to life visually.

1.2 Historical Background

Découpage collage has its roots in ancient Chinese paper-cutting techniques, which later influenced European art forms. The term “découpage” originates from the French word “découper,” meaning “to cut out,” reflecting its historical use in crafting intricate designs. By the 18th century, the art form gained popularity in Europe, where it was used to embellish furniture and decorative items. During the Victorian era, découpage became a favorite pastime among the upper class, with people cutting out images from magazines and arranging them into elaborate scenes. The rise of printable PDFs in the digital age has revitalized this traditional craft, making it more accessible and versatile. Today, artists worldwide use downloadable PDFs to create modern interpretations of this timeless technique, blending historical methods with contemporary design.
1.3 Benefits of Using Printable PDFs
Printable PDFs have revolutionized the art of découpage collage by offering unparalleled convenience and accessibility. Artists can instantly download high-quality images, patterns, and templates, eliminating the need for physical materials. This digital approach allows for endless customization, as users can easily resize, recolor, and arrange elements digitally before printing. PDFs also provide a cost-effective solution, as they can be reused multiple times without degradation. The variety of designs available online caters to diverse artistic styles, from vintage themes to modern abstracts, ensuring there’s something for every project. Additionally, printable PDFs reduce waste by enabling artists to print only what they need. This method also supports sustainability, as digital files minimize the environmental impact of production and distribution. Overall, printable PDFs have made découpage collage more accessible, versatile, and environmentally friendly, inspiring creativity for crafters and artists worldwide.
Materials and Tools Required
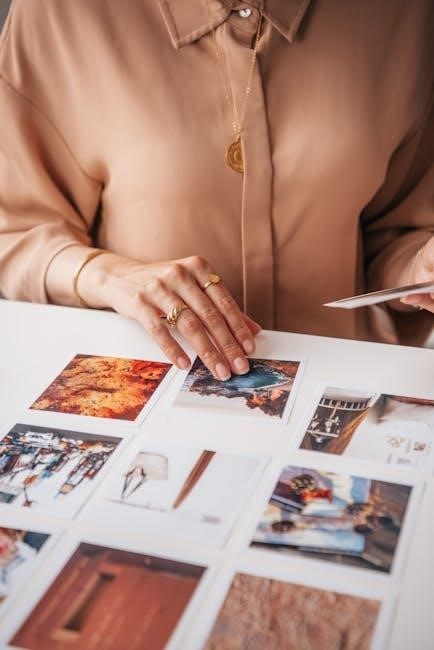
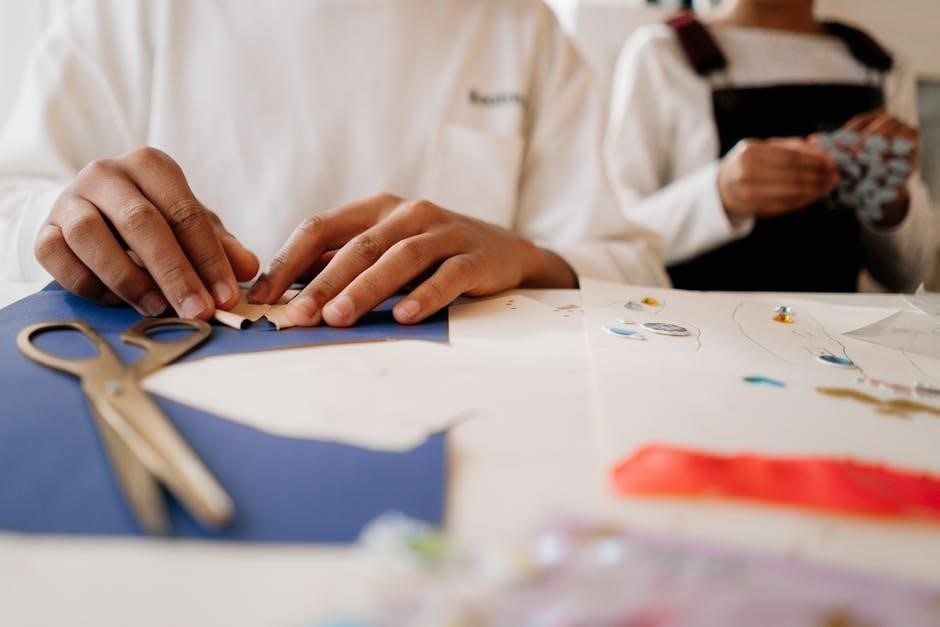
Essential materials include printable PDF templates, scissors, glue, and a printing device. Surfaces like paper or wood are ideal for applying the cutouts, while varnish can protect the final design.
2.1 Essential Physical Materials
To create a découpage collage, you will need a few basic physical materials. Start with printable PDF templates, which can be downloaded and printed on high-quality paper or cardstock. A good pair of scissors or a craft knife is essential for cutting out intricate designs. Adhesive, such as decoupage glue or varnish, is necessary to secure the cutouts onto your chosen surface. Brushes of varying sizes will help apply the adhesive evenly. Additionally, a surface like wood, fabric, or paper is required to mount your collage. Optional tools include a cutting mat for precision, tweezers for small details, and a ruler for aligning pieces. Finally, a sealant or varnish can be used to protect the finished artwork and give it a glossy finish. Having these materials on hand ensures a smooth and creative workflow for your project.
2.2 Digital Tools for Customization
Digital tools play a crucial role in enhancing your découpage collage experience. Software like Adobe Photoshop or Canva allows you to edit and customize printable PDF templates, ensuring they match your creative vision. PDF editors enable you to resize, crop, or combine images before printing. Additionally, online platforms offer a wide variety of downloadable designs, from vintage patterns to modern graphics, which can be tailored to suit your project. Digital cutters, such as Silhouette or Cricut, can precision-cut intricate shapes, saving time and effort. Furthermore, apps like Procreate or Affinity Designer provide advanced features for designing unique artwork from scratch. These tools empower you to personalize your collage, making it truly one-of-a-kind. By leveraging digital resources, you can explore endless creative possibilities and achieve professional-grade results in your découpage projects.

2.3 Printing Tips for Optimal Results
For the best results with your découpage collage à imprimer PDF, ensure your printer is set to high-quality mode. Use acid-free, high-weight paper (200-300 gsm) to prevent yellowing and ensure durability. Choose the correct printer settings, such as “photo” or “high-resolution” options, to achieve vibrant colors. Align your printer beforehand to avoid misprints. Print a test page on regular paper first to confirm colors and layout. Allow the ink to fully dry before cutting to prevent smudging. If using an inkjet printer, consider sealing the printed images with a fixative spray to protect them from fading. For intricate designs, print at the highest DPI setting. Finally, experiment with different paper textures, like matte or glossy, to enhance the visual appeal of your collage. These tips will help you achieve professional-looking prints for your découpage projects.
Techniques and Applications
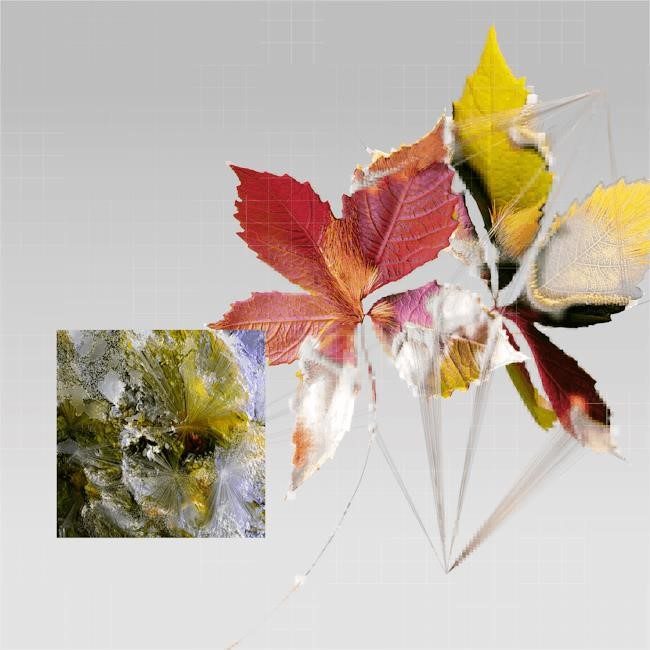
Découpage collage involves creative layering and arrangement of printed images. It enhances surfaces like furniture, cards, and walls, offering a versatile and artistic way to transform everyday items into unique, visually appealing designs.
3.1 Step-by-Step Guide to Creating a Collage
Creating a découpage collage begins with selecting a surface, such as furniture or paper. Print your chosen PDF images and cut them into desired shapes. Apply a thin coat of varnish or adhesive to the surface, then carefully place the cut-outs, layering as needed. Smooth out air bubbles with a brush or tool. Allow the adhesive to dry completely before adding additional coats of varnish for protection. This method ensures a durable and visually striking result, perfect for personalizing items or crafting unique gifts.
3.2 Creative Ideas for Different Projects
Découpage collage is incredibly versatile and can be applied to various creative endeavors. For home decor, transform furniture or boxes with vibrant printed designs. Create personalized gifts, such as photo cards or journals, by layering meaningful images. Seasonal themes, like holiday motifs or nature scenes, add charm to eggs, lanterns, or mirrors. Experiment with mixed-media collages by combining printed PDFs with hand-drawn elements or textures. Use découpage to upcycle old items, giving them a fresh, artistic look. This technique is also ideal for crafting unique wall art or decoupage mosaics. Whether you’re working on a small, intricate project or a large-scale design, the possibilities are endless, making it a rewarding hobby for crafters of all skill levels.
3.3 Troubleshooting Common Issues
When working with découpage collage using printable PDFs, several common issues may arise. One frequent problem is misalignment or low resolution in printed images, which can make the collage look blurry or unprofessional. To resolve this, ensure your PDF is high quality and adjust printer settings for clarity. Another issue is poor adhesion of images to the surface, often caused by insufficient glue or improper application. Using the right adhesive and applying even coats can prevent this. Bubbles or air pockets under the images are also common; use a flat tool to gently smooth them out; Additionally, edge tearing or fraying can occur during cutting; using sharp scissors or a craft knife and cutting slowly can minimize this. Lastly, fading or discoloration over time can be addressed by using archival-quality prints and sealing the collage with varnish or sealant.